Did you know you know that Windows can run Uptime Kuma? Let’s share how to install Uptime Kuma on Windows!
Uptime Kuma is a free and open-source self-hosted monitoring tool. It allows users to track the uptime, response time, and other important metrics of their websites, applications, and servers.
Easy-to-use monitoring tool provides visibility to ups and downs, excellent for home labs and production environments.
Why install Uptime Kuma on Windows?
- Self-control: When you self-host Uptime Kuma, you have complete control over your data and its use. Businesses and organizations need to maintain high security and privacy.
- Gain skills while learning to manage it yourself: Installing and managing Uptime Kuma on Windows can help users gain valuable skills and knowledge in server management and monitoring.
- Cost savings: Uptime Kuma is free to use, so you can save money on monthly or annual subscription fees for other monitoring services.
- Flexibility: Uptime Kuma can monitor various services, including websites, servers, APIs, and Docker containers. It also supports a variety of notification methods so that you can be alerted to any problems quickly and easily.
Benefits of using Uptime Kuma:
- Easy to use: Uptime Kuma has a simple and intuitive user interface, so it is easy to start even if you have no prior experience with monitoring tools.
- Powerful: Uptime Kuma is a powerful monitoring tool that can monitor various services and detect various problems.
- Customizable: Uptime Kuma is highly customizable, so you can configure it to meet your needs.
- Scalable: Uptime Kuma can be scaled to monitor many services, making it ideal for businesses and organizations of all sizes.
- Self-hosted: Uptime Kuma is a self-hosted monitoring tool that gives you complete control over your data. It is crucial for businesses and organizations with high security and privacy needs.
Install Uptime Kuma on Windows:
Before installation, you need to ensure you have the following:
- A Windows server or computer with at least 1 GB of RAM and 10 GB of disk space.
- A web server such as IIS or Apache.
- A database server such as MySQL or PostgreSQL.
- Arch: x64
- .NET 4.8 Runtime
- Internet connection for initialization (to download Node.js runtime and Uptime Kuma source code)
Here is the procedure to follow:
- Open and run the Command Prompt (CMD) as an administrator. Now navigate into the root directory using this command: cd /
- Use git to clone the repository for uptime Kuma using this command: git clone https://github.com/louislam/uptime-kuma.git
- Change the directory to the Uptime Kuma folder by running the following command: cd .\uptime-kuma\
- Install the dependencies by running the following command: npm install
- Create a database for Uptime Kuma. You can use any preferred database server, such as MySQL or PostgreSQL.
- Configure Uptime Kuma. Open the config.sample.js file in a text editor and make the following changes:
- Set the database property to the name of your Uptime Kuma database.
- Set the username and password properties to the credentials for your Uptime Kuma database user.
- Start Uptime Kuma: node server/server.js
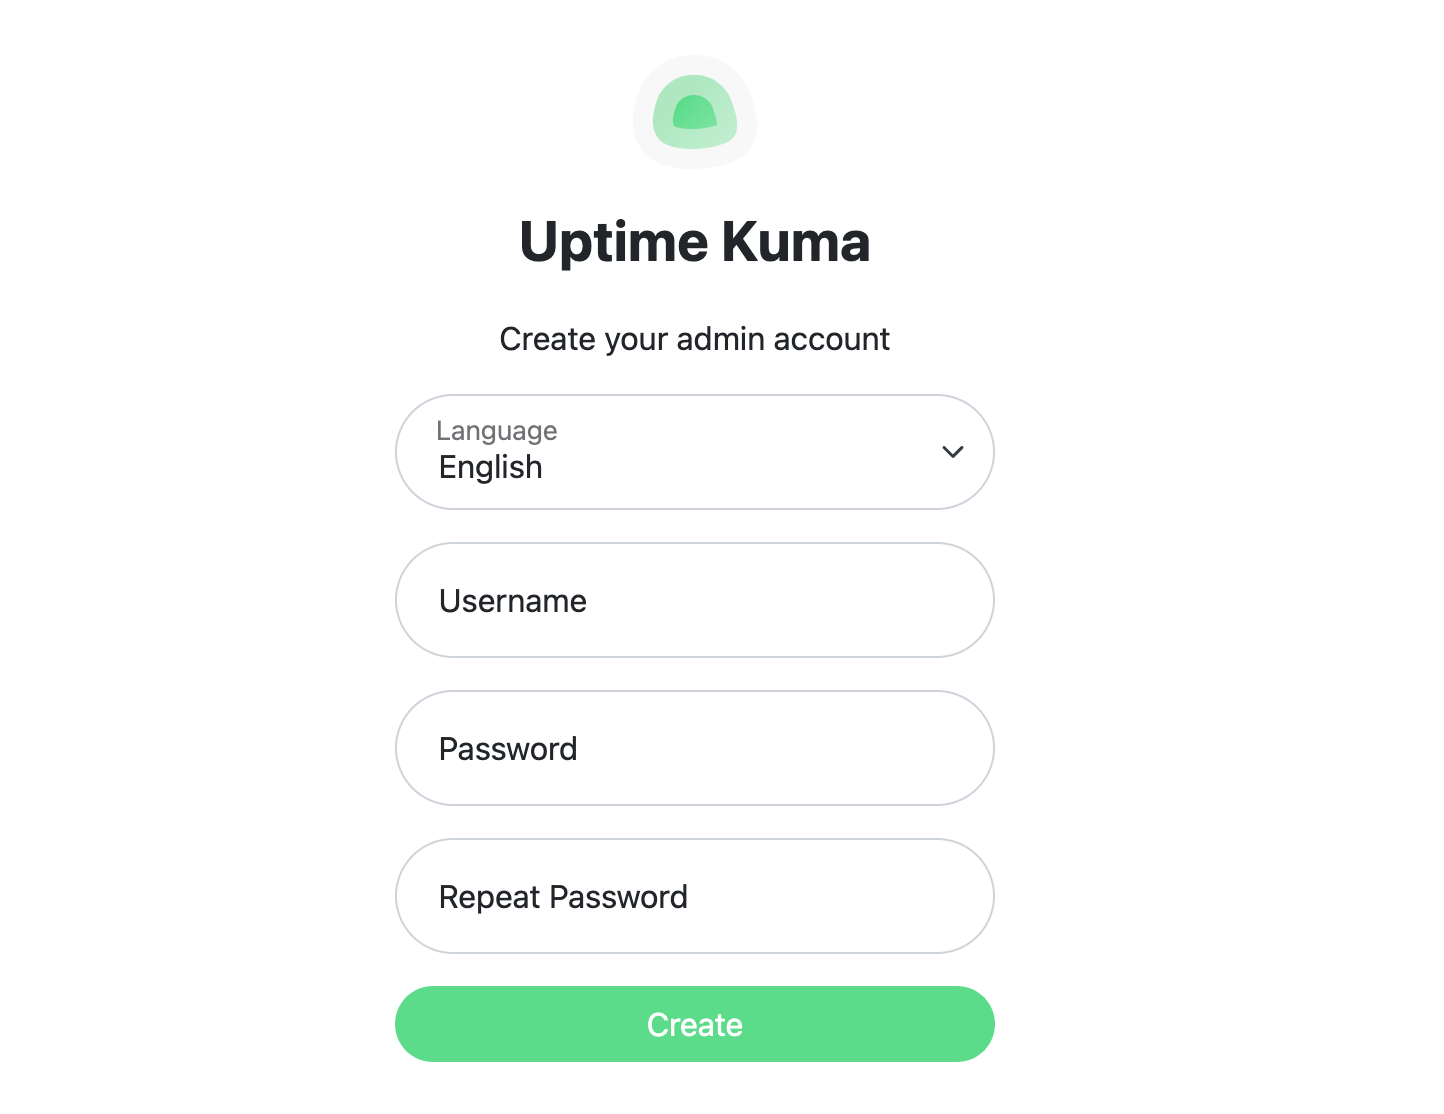
- Open a web browser and navigate to http://localhost:3001. You should see the Uptime Kuma login page.
- Create an account and log in.
Once logged in, you can add monitors to Uptime Kuma. To do this, click the “Monitors” tab and the “Add Monitor” button.
You can add websites, servers, APIs, and Docker container monitors. Uptime Kuma is a free, powerful, and flexible monitoring tool that checks your monitors periodically and alerts you of any problems.
Running Kuma on Windows:
Running Uptime Kuma as a service using PM2 is a great way to ensure that the monitoring tool is always running and can be easily managed.
Here are the steps to run Uptime Kuma as a service using PM2:
- Install PM2 by running the following command:npm install pm2 -g
- Navigate to the Uptime Kuma directory by running the following command: cd /path/to/uptime-kuma
- Start Uptime Kuma as a service by running the following command: pm2 start server/server.js –name uptime-kuma
- Stop Uptime Kuma by running the following command: pm2 stop uptime-kuma
- Restart Uptime Kuma by running the following command: pm2 restart uptime-kuma
- Run Uptime Kuma at startup by running the following command: pm2 startup
It will generate a command you need to run as root to set up PM2 to start Uptime Kuma at boot time.
Running Uptime Kuma as a service using PM2 ensures it’s always running and easy to manage. Follow the steps to start, stop, restart, and run at startup.
Troubleshooting common installation errors:
- Installation failed due to missing dependencies:
Ensure that you have installed Git and Node.js.
- Error: Cannot connect to database.
Solution: Ensure that the Uptime Kuma database is running and that you have entered the correct database credentials in the config.sample.js file.
- Cannot start Uptime Kuma server.
Ensure you have run the npm install command to install the Uptime Kuma dependencies.
- Uptime Kuma is not running.
Open a PowerShell window as an administrator and run the following command: node server/server.js
- Error: Cannot access Uptime Kuma web interface.
Solution: Ensure that the Uptime Kuma server is running and that you have entered the correct URL in your web browser.
For help with Uptime Kuma on Windows, ask on Discord or GitHub.
Wrapping up: Install Uptime Kuma on Windows;
Uptime Kuma is a free, open-source, self-hosted monitoring tool for websites, apps, and servers. It tracks uptime, response time, and more.
Features include two-factor auth, export/import, separate status page, and more. Users must ensure their system meets the prerequisites to install Uptime Kuma on Windows.
Use this guide to run the setup and start Uptime Kuma. Uptime Kuma is now ready for self-hosted monitoring on Windows.
Users have complete control of their data, can customize notifications, and get more features for potentially less investment.