
Do you find it time-consuming and exhausting to maintain a website and add information to it? Worry not, since Uptime Kuma is the go-to solution for businesses of all sizes wishing to optimize their operations and simplify the process of bulk importing data.
Uptime Kuma is a sophisticated solution that allows you to quickly manage and monitor the uptime of your websites and services. It includes an easy-to-use interface and features that allow anyone to administer it.
In this article, we’ll go over the uptime Kuma bulk importing functionality and how you can utilize it to optimize your business processes.
Bulk import is a function that allows users to swiftly and efficiently import massive amounts of data into a system.
It streamlines the process and saves time by eliminating the need to manually enter each piece of information, regardless of quantity.
Uptime Kuma bulk import feature
The ability to manage massive imports easily is one of uptime Kuma’s standout advantages. By removing the need for manual data entry, this function saves you important time and effort.
The importing feature is designed to be simple and uncomplicated, so you may import a large amount of data with just a few clicks
Additionally, because data formats are flexible, Kuma can manage the import process seamlessly even from disparate data sources.
Benefits of bulk importing
The following are the advantages of using the bulk importing option.
1. Scalability
This function allows you to expand without worrying about the expansion of your business, which may lead to the expansion of your catalog. This is due to the feature’s capacity to import a huge amount of data at once, removing the need for recurrent work.
2. Saves time
You can use this function to submit a file containing many records and have them uploaded to your system automatically. This saves time and is highly effective because there is no human error.
3. Flexibility
Another advantage of bulk importing is flexibility. Uptime Kuma accepts a variety of file formats, allowing it to import data from a variety of sources. Furthermore, the data will be correctly categorized within your system.
When handling data with uptime Kuma, you can substantially enhance your productivity and efficiency by harnessing the power of bulk importing.
Setting Uptime Kuma for bulk importing
Setting up Uptime Kuma for bulk import is a quick and easy process that allows users to import enormous amounts of data.
a). Data must be prepared in a compatible format, such as CSV or JSON.
b). Users can access the “Bulk Import” area of their Uptime Kuma dashboard by logging in.
c). A simple interface allows users to upload files and map fields to appropriate monitor properties.
d). Uptime Kuma provides field mapping freedom as well as validation tools to assure data integrity.
Clicking the “Import” button starts the bulk import procedure, which creates the selected monitors quickly.
Data requirements for Bulk import
Before beginning the bulk importing process with Uptime Kuma, it is critical to understand the data requirements.
1). Create a complete list of the types of data to be imported (website URLs, server details, monitoring configurations, etc.).
2). Select the proper file type for the import (CSV or JSON) and format the data accordingly.
3). Take note of the precise data fields necessary for each sort of data, such as the URL, monitoring interval, and notification settings for website URLs.
4). Uptime Kuma’s data validation standards, such as character limits or data format constraints, should be familiar to you.
5). Make use of spreadsheets or data management solutions to organize and structure your data.
You can speed up the bulk import process by completing the data requirements.
A step-by-step approach to bulk importing with Uptime Kuma
Step #1: Gather your data
Before you begin the bulk importing process with Uptime Kuma, you must verify that your data is correctly formatted. Check that your data is in a system-compatible format. This may entail arranging your data into a CSV file or another compatible file format.
Step #2: Enable the bulk import feature.
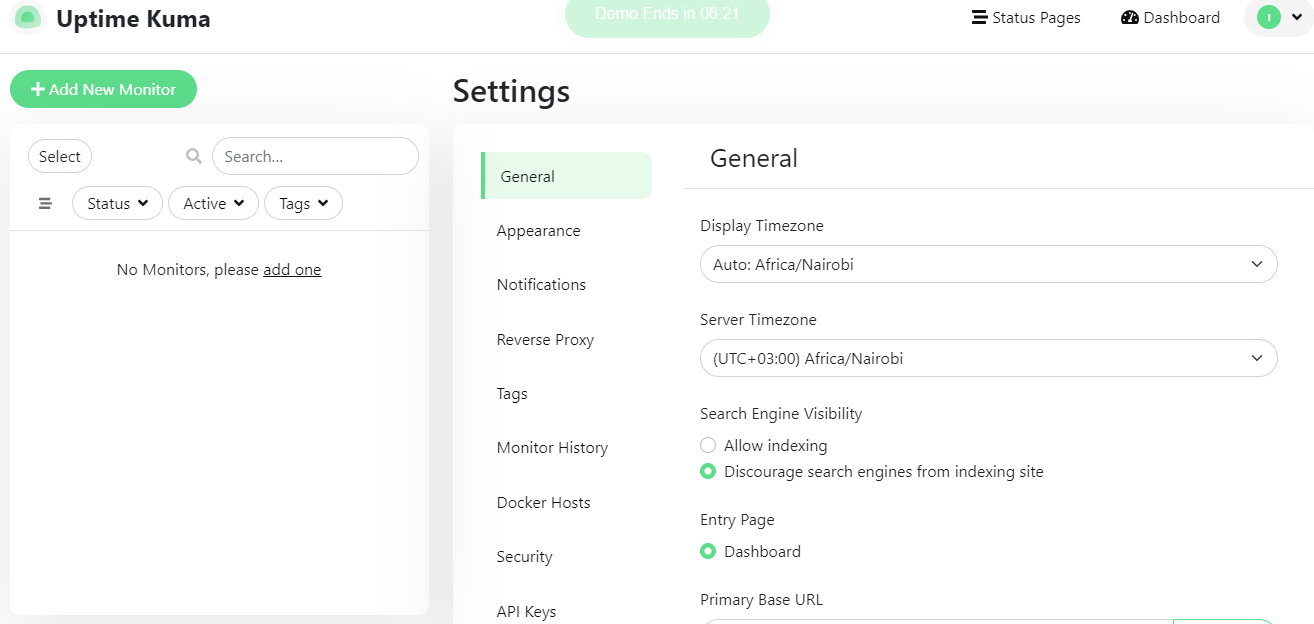
Once your data is ready, log in to your Uptime Kuma account and go to the bulk import feature. This is typically located in the platform’s settings or admin section. To continue, select the “Bulk Import” option.
Step #3: Submit your data file.
You will be invited to upload the file containing your data at this stage. Select the prepared file from your computer by clicking the “Choose File” button. Before proceeding, double-check that you have selected the correct file.
Step #4: Customize the import settings
Depending on the intricacy of your data, you may have access to a variety of import settings. Uptime Kuma gives choices for mapping your data fields to the system’s equivalent fields. You can use this to confirm that the imported data is correctly aligned with the appropriate fields. Take the time to evaluate and customize these parameters to meet your individual needs.
Step #5: Validate and preview your work.
After you’ve configured the import options, you can validate and preview the data before completing the import. Uptime Kuma will run a validation process on the data to look for flaws or inconsistencies. If any problems are discovered, you will be contacted so that you can make the required changes.
Step #6: Begin the import
If the validation procedure is complete and you are happy with the preview data, you can begin the import. The import process may take some time depending on the size of your data file. Kuma will display a progress indicator to keep you updated on the status of the import at all times.
Step #7: Examine the imported data
When the import process is finished, go through the imported data in Uptime Kuma. Check that all of the relevant information has been imported correctly and that there are no discrepancies. If any problems are discovered, you can use the platform’s editing features to make the necessary changes.
You can streamline and simplify the bulk importing process with Uptime Kuma by following this step-by-step instruction. This effective method allows you to swiftly and reliably import enormous volumes of data, saving you important time and effort.
Best Practices for efficient bulk importing
Efficient bulk importation is critical for businesses managing large amounts of data. It can significantly reduce time and resources while ensuring a smooth and simplified procedure. Follow these best practices while bulk importing with Uptime Kuma:
1. Use Data Mapping: Uptime Kuma has data mapping capabilities that allow you to map incoming data to the correct fields in the system. Use this feature to ensure precise data mapping and avoid data loss or misplacement during the import process.
2. Divide Data Into Manageable chunks: Instead of attempting to import all of your data at once, consider dividing it into smaller, more manageable chunks. This method decreases the risk of overburdening the system and makes it easier to spot any difficulties or errors.
3. Test the Import Process: It is best to test the import process with a small sample of data before undertaking a large-scale import. This enables you to spot any potential problems or errors and make any necessary changes before importing the complete dataset
4. Purify and Organize Your Data: Before beginning bulk importation, it is critical to ensure that the data has been cleaned and arranged. Remove any duplication, inconsistencies, or extraneous material. This step will help to avoid errors and streamline the importing process.
5..Verify Data Formats: Ensure that the data you’re importing is in the correct format and structure. This includes verifying correct date formats, numeric values, and any data validations that Uptime Kuma may demand. Validating data formats ahead of time will prevent data import issues.
Common troubleshooting issues during bulk importing
When bulk importing with uptime Kuma, it is critical to be prepared for any potential issues that may happen. Common issues include improper file format, data validation errors, sluggish import performance, and mapping mistakes.
I). Ensure that the file format and structure match the specified format.
II). Review error messages for data validation errors, and fix errors in the source file.
III). Slow import performance may be due to system resources, network connectivity, or file size. Optimize resources and connections, and break import into smaller batches if possible.
IV). Examine mapping setups to minimize mapping mistakes, and make adjustments as needed.
V). Use error logs and reporting features for troubleshooting, tracking progress, and resolving difficulties.
VI). With Uptime Kuma, you can streamline the bulk import process by becoming aware of frequent issues and following troubleshooting methods.
VII). If necessary, get assistance from the documentation, the Uptime Kuma community, or customer support.
Conclusion
Uptime Kuma offers a streamlined and user-friendly solution for simplifying the bulk importing process. Its intuitive interface, versatile import options, and robust features make it a valuable asset that can greatly enhance productivity and precision in data management.
By harnessing the potential of Uptime Kuma, enterprises can save time, eliminate mistakes, and prioritize strategic endeavors, ultimately resulting in increased efficiency and overall success.